


You are trying to open a website in Chrome, and for some reason, it refuses to load correctly. Perhaps it is showing an old version, perhaps the page keeps timing out, or perhaps you are staring at a message, “This site can’t be reached” error. I have experienced this multiple times, and one of the easiest ways to fix it is by clearing the DNS cache.
If you are thinking what that means and how to do it, don’t worry. In this article, I will guide you through multiple methods to clear DNS cache in chrome so you can get a smooth browsing experience.
What is a DNS Cache (and Why Clear It)?
Before we move ahead with methods to clear DNS cache, let me quickly explain to you what DNS cache is. DNS, or Domain Name System, is basically the Internet’s phonebook. When you type a website address like pmnetworking.in, Chrome looks up the corresponding IP address to find the server where that website lives. To understand this better, you can read: what is DNS and how it works.
To make your browsing experience faster, Chrome and your operating system save these lookups in something called DNS cache. This way, it doesn’t have to look up the same address again and again.
The problem with this is that when this cache gets outdated or corrupted. That’s when you see issues like:
The problem? This cache sometimes gets outdated or corrupted. That’s when you see issues like this. Clearing your DNS cache gives Chrome a “fresh start”
Clearing the DNS cache basically gives Chrome a “fresh start.”
Method 1: Clear DNS Cache Inside Chrome
The easiest and quickest way to clear DNS cache is inside Chrome. Here’s how you can do it:
- Open Chrome and launch a new tab.
In the address bar, type:
chrome://net-internals/#dns
- and hit Enter.
- You’ll land on Chrome’s DNS tool. Look for the button labeled Clear host cache and click it.
If you want to go a step further, also visit:
chrome://net-internals/#sockets
and click Flush socket pools. This clears active connections that might be holding onto old data.
- This method usually fixes most Chrome-specific DNS issues for me.
Method 2: Clear DNS Cache on Your Computer (Windows)
Sometimes the problem isn’t just Chrome—it’s your whole system. Windows keeps its own DNS cache, and if that’s outdated, clearing it can help.
Here’s what to do:
- Press Win + R, type cmd, and hit Enter to open Command Prompt.
- In the window that appears, type: ipconfig /flushdns
- press Enter.
- You should see a message that says:
“Successfully flushed the DNS Resolver Cache.”
Now restart Chrome and try opening the website again.
Method 3: Clear DNS Cache on macOS
Sometimes the problem isn’t just Chrome—it’s your whole system. One way to start troubleshooting is to check network connectivity using ping, which helps identify if the issue is with your connection or DNS.
If you’re on a Mac, the steps are slightly different but just as easy.
- Open Terminal (you can find it via Spotlight search).
Type the following command and hit Enter:
sudo killall -HUP mDNSResponder
- Enter your Mac’s password when prompted.
That’s it—your Mac’s DNS cache is now cleared.
Method 4: Use Chrome Settings Reset
At last, you can reset Chrome itself. This will clear not only DNS but also cached browsing data that might interfere with loading websites.
Here’s how:
- Open Chrome and click the three dots in the top-right corner.
- Go to Settings > Reset settings > Restore settings to their original defaults.
- Confirm by clicking Reset settings.
This will wipe things like cookies and cache, but sometimes it’s the only way to fully refresh Chrome.
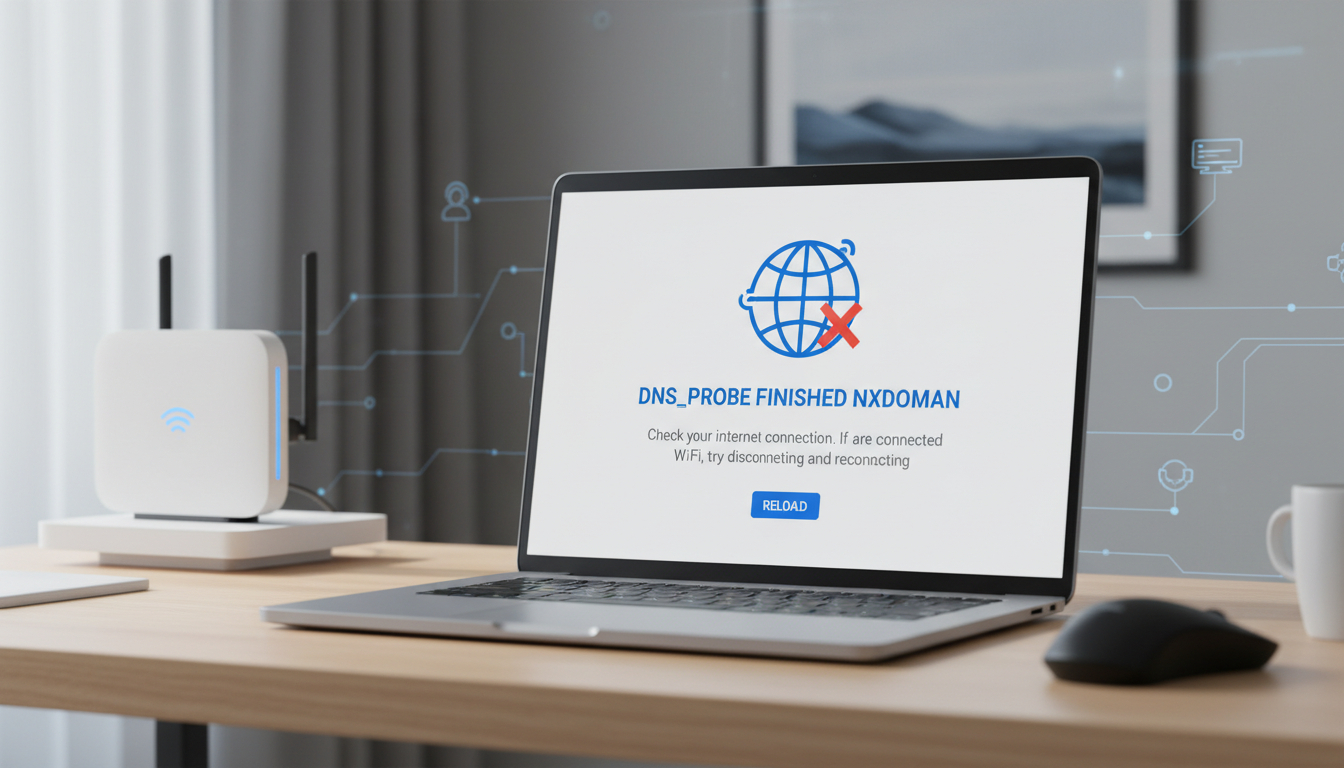
Related Blog: DNS_PROBE_FINISHED_NXDOMAIN in Chrome
Final Thoughts
Clearing the DNS cache might sound a bit technical, but once you do it multiple times, it becomes second nature. I have personally fixed countless Chrome problems with these methods, and it usually takes less than a minute.
So the next time you face such problems, don’t get frustrated. Try out one of these methods clear DNS cache, flush your system DNS or reset your DNS settings. Chances are, you will be back online before you finish your coffee.
FAQs
Does clearing DNS cache in Chrome delete browsing history or passwords?
No, clearing the DNS cache does not remove your browsing history, saved passwords, cookies, or bookmarks. It only refreshes the stored DNS records that Chrome uses to load websites.
How often should I clear the DNS cache in Chrome?
There is no fixed schedule, but you should clear the DNS cache whenever you face issues like websites not loading, DNS-related errors, or when a site shows outdated content after changes.
Can DNS cache issues affect internet speed in Chrome?
Yes, outdated or incorrect DNS cache entries can cause delays in website loading. Clearing the DNS cache can sometimes improve page load speed by forcing Chrome to fetch fresh IP information.
Is clearing DNS cache safe for beginners?
Yes, clearing the DNS cache is completely safe and beginner-friendly. It does not harm your system or browser and is often recommended as a first troubleshooting step.
Why does Chrome store DNS cache separately from the operating system?
Chrome maintains its own DNS cache to speed up browsing performance and reduce lookup time. This is why clearing system DNS cache alone may not always fix Chrome-specific issues.
PM Networking is an emerging leader in the ed-tech space, founded by Praphul Mishra in 2020 with a vision to democratize tech education. The journey of PM Networking began as a YouTube channel with the sole purpose of sharing valuable knowledge in the fields of Networking, Cyber Security, and Cloud Computing. What started as a humble effort to educate has rapidly evolved into a comprehensive online learning platform that caters to the growing demand for specialized IT skills. PM Networking stands out in the crowded ed-tech industry by providing affordable, world-class training tailored to the needs of aspiring IT professionals. The platform is dedicated to equipping learners with the skills and knowledge required to excel in the highly competitive tech industry. Whether it’s Networking fundamentals, advanced Cyber Security protocols, or mastering the complexities of Cloud Computing, PM Networking offers a range of courses designed to cater to different levels of expertise.
0 Comments